To request Roof Measurements and Exterior Measurements data, you need to complete a series of steps in Verisk Xactimate® in the sequence given below.
Note: For additional conceptual information, review the Roof Measurements and Exterior Measurements workflow article.
In Xactimate
- Create a project in Xactimate:
- Select the Profile "Carrier".
- Select Estimate as the Project type.
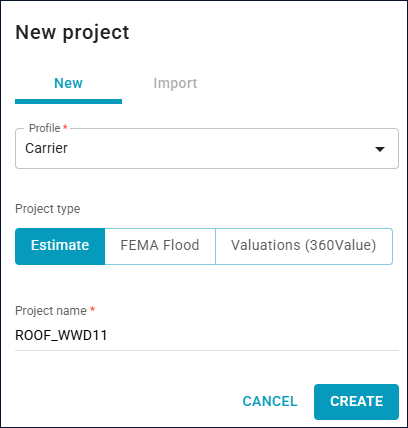
- Once created, open the project.
- Complete the fields with the information available. Remember to enter the Claim Number. Save the changes.
- Click to select your project.
- Click the Request data icon on the right-hand side toolbar. The following page is displayed.
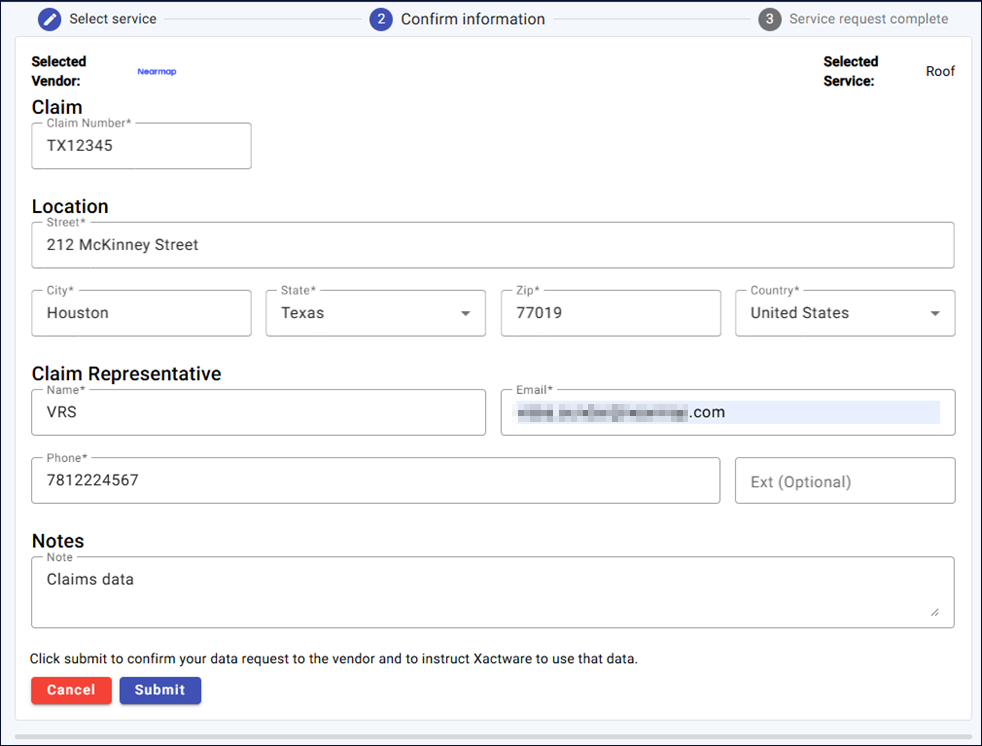
- From the drop down next to the Nearmap logo, select Roof or Roof & Walls. A Claim form is displayed.
- Complete the required details, and click Submit.
The following acknowledgment is displayed.
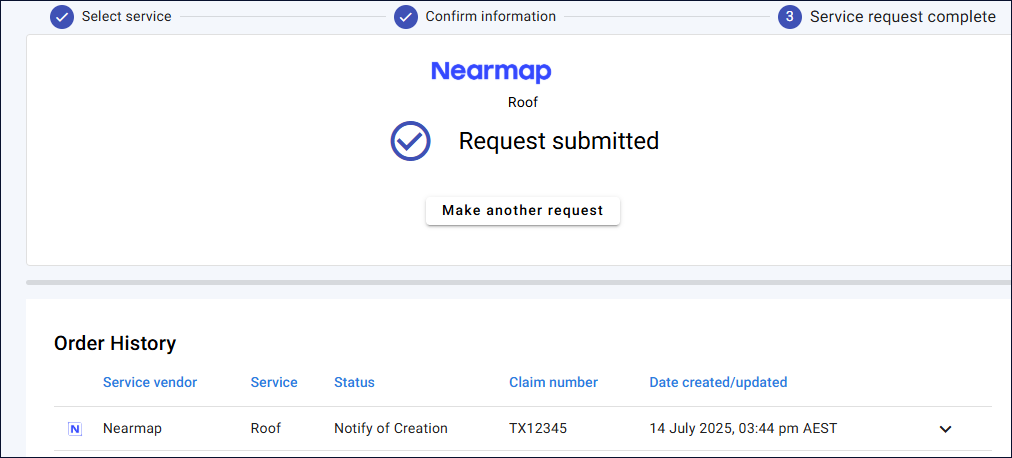
Once the request has been processed, you can view the Roof Measurements and Exterior Measurements geometry.
Once you’ve the roof and exterior measurements, you can access the measurements via Verisk Xactimate and XactAnalysis as many times as you want.