
MyAccount is the administration portal where you manage your organization's Nearmap subscription, users, and integrations. To get in, log in to MyAccount using your Nearmap credentials and familiarize yourself with the MyAccount interface, which gives you a centralized view of your account. The Administrator Dashboard is your starting point for day-to-day account management, surfacing key information about users, usage, and subscriptions at a glance. If your organization uses Single Sign-On, review the Nearmap SSO documentation to understand how authentication is managed before you begin setting up users. For a full overview of what administrators can do in MyAccount, see About MyAccount.

Invite users and manage permissions
As a Nearmap administrator, you are responsible for inviting team members and controlling what they can access. The invitation process differs depending on your subscription model - follow the Current guide if you are on the new subscription model (from August 2025), or the Classic guide if you are on the existing model. Once users are in your account, you can manage user permissions to control access to products such as Advanced Export and GeoData Link, which require explicit permission grants and are not enabled by default. You can also manage administrator privileges to promote users with admin access as your team structure evolves. If your organization uses workspaces to segment access across teams or departments, see MyAccount Workspaces for guidance on setting those up.

Monitor usage and manage subscriptions
Keeping track of how your team is consuming Nearmap content is an important part of the administrator role. To view account-wide data usage, follow the Current or Classic usage guides depending on your subscription model; both provide a rolling 12-month view of consumption broken down by user, which you can download as a CSV. If your subscription uses credit-based or export area billing, you can also view credit-based usage and view export area usage separately. To make changes to your plan, refer to Current - Manage Your Subscriptions or Classic - Manage Subscriptions as appropriate. For a clear explanation of the differences between the two models, see Account Data Usage - Classic vs Current.

Set Up integrations and API access
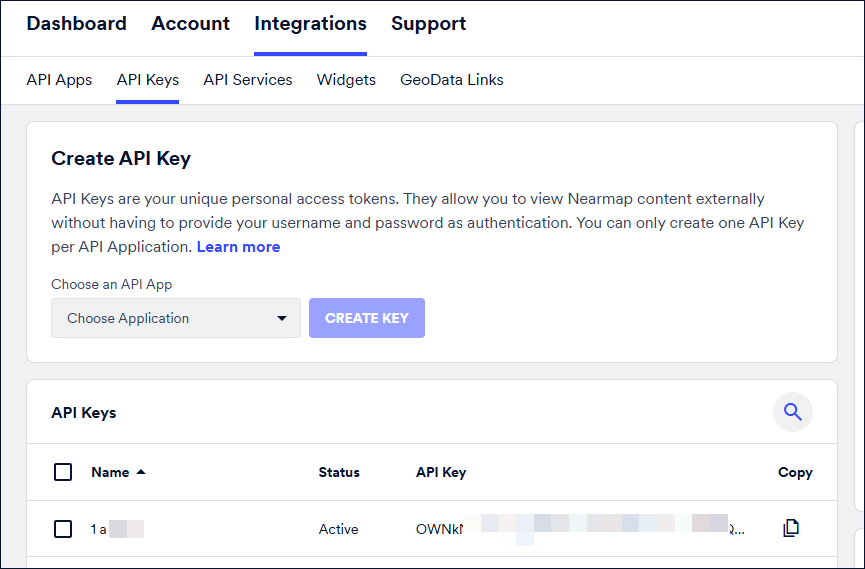
If your team plans to stream Nearmap imagery into third-party GIS, CAD, or custom applications, you will need to set up API access before they can get started. Begin by creating an API Application in MyAccount under the Integrations tab to organize your integrations and apply different access restrictions to different use cases. From there, users can create API keys associated with their application, which are required to authenticate Nearmap services in tools like ArcGIS, QGIS, and custom platforms.
If your organization wants to embed live Nearmap imagery directly into a website or internal application, you can set up a Widget from MyAccount. For teams that need to connect their own GIS data alongside Nearmap imagery, Nearmap GeoData Link can be configured from MyAccount to surface external data layers within MapBrowser.

Manage billing and account details
Administrators have access to billing and account management settings in MyAccount to keep your organization's details up to date. You can view billing information at any time from the Account section, where invoices and payment details are accessible.

If your organization needs to update the domains associated with your account, use Manage Domains to add, verify, and edit them. To reset user passwords or manage the password reset email template sent to your team, see Manage Password Reset Email. For ongoing account changes such as user email updates or personal detail edits, direct team members to the Manage Your Nearmap Profile documentation.
Additional Resources
API Key Status and Refresh
Manage API Services
Manage API Apps
Nearmap API Documentation